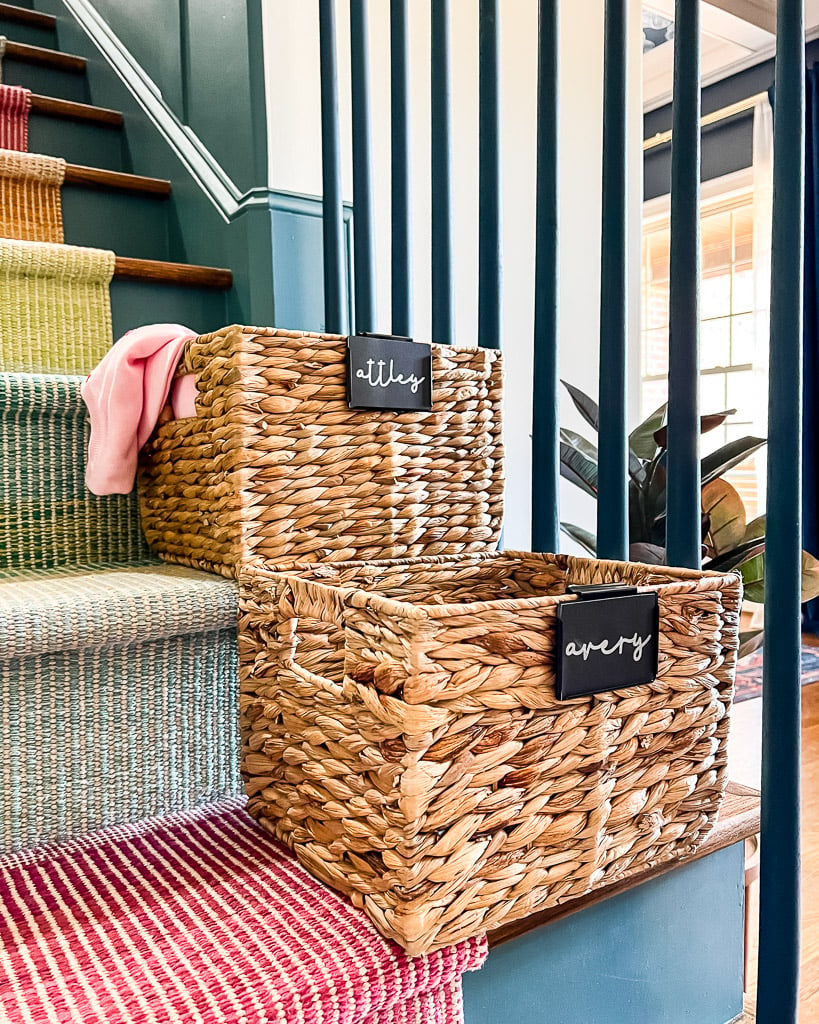
Have you ever faced the issue of putting a lot of similar things in one place and finding it difficult to pick the one you need? You sure would have! Everyone faces that problem now and then. To avoid this issue, you can put labels on your boxes. These labels are most useful in a pantry. You can create these labels easily. To learn how to make labels with Cricut, read this blog as I am writing down the procedure for creating these labels.
You can use two methods to make the labels. The first method is by using vinyl. After cutting the material, you transfer it to the boxes. The second method is to use a Cricut pen to print on the material. Once made, you can apply it to the boxes. In this write-up, I will be showing the vinyl method. So, let’s start with the supplies and tools you will require for Cricut labels.
What Materials Do I Need to Make Labels?
To learn how to make labels with Cricut, you must first know the materials and tools you are going to need. These items will be required to create labels using Cricut vinyl.
- Cricut cutting machine: To make labels, you can use Cricut Maker, Explore, or Joy machine. You need the machine to cut your design.
- Cutting mat: A mat is very important as you need it to put the material on before you place it inside the Cricut machine.
- Premium Cricut vinyl: Itis the material to cut the designed font and then place it on your boxes.
- Weeding tools: You need this tool to peel your design from the material.
- Transfer tape: A transfer tape is used to transfer the design to the boxes or its destined place.
How to Make Labels With Cricut: 4 Easy Steps
Once you have collected all the required items to make labels, you can proceed to make them. There are four simple steps to crafting these labels, which I will describe in simple but detailed terms.
Step 1: Create a Design in Cricut Design Space

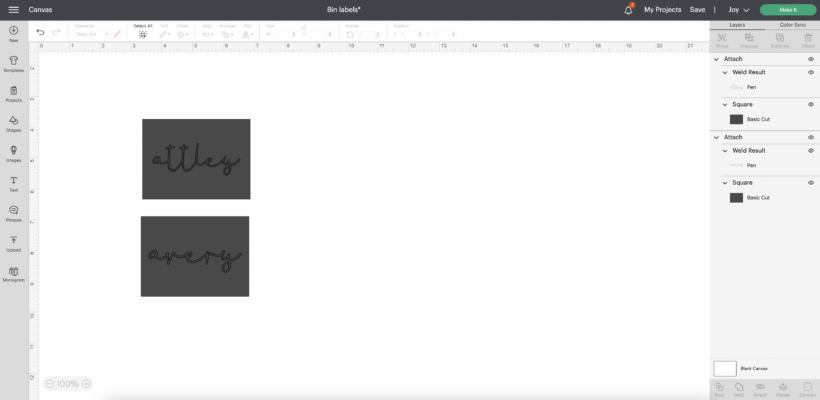
To write on labels, the first thing you need to do is pick a font in the Cricut Design Space app. Next, you can customize the shape and size of the font, edit it however you like, and then cut it with the machine. Not only can you choose a font from the Cricut software, but you can also upload any design or font to the app. For example, you can create a design on your computer or phone and then upload it to the app.
One thing to keep in mind while making a design is to choose a simple font that you can easily weed after cutting. Also, consider the size of the label in relation to the size of the box. It should neither be too small nor too large to ensure it looks good.
Step 2: Cut the Labels on Your Cricut Machine

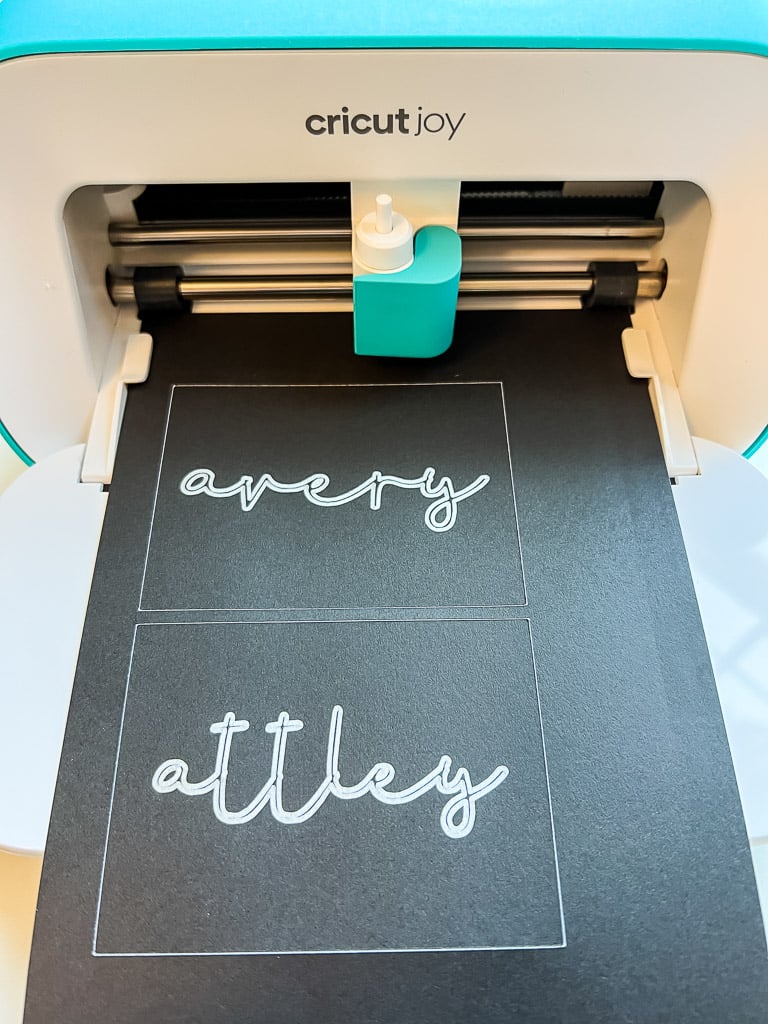
Once the design is ready and you are learning how to make labels with Cricut, click on “Make It” in the Design Space app. After that, the software will arrange all the words in the best possible way to minimize material waste. To start cutting, put the Cricut vinyl on the cutting mat and then load it into your machine. When everything is set, press the “Load” button on the machine. After the cutting procedure, you have to unload your machine and then take off the mat.
Step 3: Weed Out Your Design
After the cutting is done, peel off the labels from the material. Use the Cricut weeding tool to ensure precise peeling without damaging the label material. This tool is designed for accurate weeding.
Step 4: Transfer the Labels to the Surface
Once the weeding is complete, apply transfer tape to the top of the label sheet. Use a scraper tool on the transfer tape to make sure the vinyl letters stick well. Now, cut the labels, and they will be ready for transfer to your surface.
Then, place the label on the surface exactly where you need it. Once satisfied with the placement, flip the paper and peel the backing paper. Afterward, flip the label back and use the scraper on the transfer tape to ensure it sticks well. Finally, peel off the transfer tape, and your label will be complete.

Conclusion
In short, learning how to make labels with Cricut is not that difficult. If you have the required tools and know the process, you can do it in less than 30 minutes. Labels are very important in a household, especially when it comes to your pantry. They help you find the right box at the moment and prevent confusion. To make a label, you pick the text on the Design Space app and cut it on your Cricut machine. And then, you place the design wherever you want.
Frequently Asked Questions
Is Cricut Good for Making Labels?
Yes, it is. A Cricut machine is great for making labels at home. It offers a variety of designs and fonts to choose from that enable you to create stunning labels to suit your needs. There are two main methods to make labels with Cricut: using vinyl material or a pen on other materials.
How to Make Labels Using Cricut Pen?
Making labels with a Cricut pen is easy. You will need just three things: a Cricut machine, smart paper, and a pen or marker. Start by selecting and designing your label on the Design Space app. After that, use your machine to print the design onto smart paper using a pen. Once you print the design, cut it into your desired size and shape and apply it wherever you want to place the label.
How Can I Design Labels for a Cricut Machine Myself?
Designing labels on the Cricut Design Space app is equally easy. Just download the software on your operating system and log in with your Cricut username and password. Once logged in, you can choose fonts and designs from the app, customize their shapes and sizes, and even upload your own designs. Once your design is ready, you can continue to cut or print it using your Cricut cutting machine.